Wednesday, September 23, 2015

Name Plates

Kicking off the year, we began by writing twenty characteristics about ourselves on a piece of paper. Not knowing the reason behind it, the class wrote. Once we had twenty things, we had to create three sketches per characteristic in which typography portrayed the feeling of that characteristic. Once the sketches were completed, we chose our twelve favorites and pushed them through illustrator.

Hours and hours I spent sketching trying to stretch my brain and be creative with my characteristics. It was challenging, but in the end I realized how pushing further really helped. Creating them on the computer was a whole different game. A lot of the time, I could not find fonts that met my sketches, so I scanned in a lot of my designs. Also through class critique, I learned to push certain designs in a different way. I ended up editing my designs two or three times.

Through this project, I learned that sketching is a really important part of a project. Also I enhanced my scanning and pen tool skills in illustrator and photoshop. I learned to take criticism in a professional way and change things to please the audience rather than what makes sense to me.

I wish I would've spent more time perfecting my worst designs rather than admiring my good ones. Some designs are not visually pleasing, and I wish I could arrange them in a way that would look best.

If I did this project again, I would definitely spend as much time on the sketches as I did. Sketching is the most important part of a project.

For my next project, I will sketch a lot and push my ideas to their limit. Also, I will use the knowledge I gained in file management.

I really enjoyed this project because it was a great way to learn and collaborate with others in the classroom. Also, since it was the first project of the year, I got to learn a lot of the names of people in the new junior/senior class!


-Tess Reid

Thursday, October 30, 2014

Sub for Field Trip Blog

Since I missed the field trip, I will write about my process with my brochure project.

My process began with brainstorming concepts in my notebook, then I moved into sketching logos. After my logos were sketched, I showed my project manager and she told me which logos to push in illustrator. Once I created those logos in illustrator, we checked with the client to see which logos she liked the most. With those two logos, I created two different concepts for the brochure cover. Then we printed and mounted the concepts and gave them to my client to present. When my client won the grant, I pushed the one concept she liked the most. I am still working on it and it is an ongoing project, but for right now I am in a good spot.

Below I have attached the first 13 logos I sketched as one of the first steps to the process.

Friday, October 24, 2014

Painting in Photoshop

At the beginning of this project, we learned how to mix brushes and use different types of brushes. We expressed this in this image:

Then we were to apply what we learned to a landscape image and I ended up creating this:


Then, I expanded my knowledge and applied what I had learned to a project of my own. I found an image on 500px.com and opened it in photoshop. I used various brushes, brush presents, and colors and formed this wondrous image.


Monday, October 13, 2014

Quarter One Project

For my quarter one project, I was lucky enough to be chosen to work on a super important brochure for Dr. Poss. I was presented with a 6 page packet of the information regarding this brochure. It was for a health care grant Dr. Poss was trying to get for our school.

THE LOGO PROCESS:

My project began abruptly, and we worked quickly. Over the course of two weeks, Miss Meyer and I worked tirelessly on sketches, logos, concepts, and covers. My first steps were working in my sketchbook. I created a word list of various concepts to research online. I also came up with different slogans to possibly use on the brochures. Then I was told to create as many different sketches as I could. I ended up with 26. Once my sketches were finished, I showed Miss Meyer and she told me which ones to take into Illustrator. The logo process took a lot longer than I would've thought. We ended up with three final logos we liked, so we took them to one of our clients to get more direction. Once we had more information, we could push these logos into our brochure covers.

THE COVER PROCESS:

I dove right in. I started with brainstorming certain concepts to get the "You Matter" theme continued.  After many many many different covers and many many many alterations and versions, we ended up with two different concepts for our two different logos that we liked. However, we were not even close to done. Once we finished the front cover, we had one day left to finish the back of the brochure that explained all of the information the clients needed to share. We worked really hard on the backs and making sure they matched the front. Once we finished the cover and the backs, we still had one more step. We printed and mounted each logo and each concept onto black board to make it look all pretty and nice. Finally, we were finished and we could bring our final products to our clients.

Thursday, September 11, 2014

Cube Project

I really enjoyed the cube project. I started like the rest of the class, following the tutorial, and I created this:
Then, we were instructed to create a cube logo of our own. I took the techniques I learned from the video and applied them to my own ideas. At first, I thought simplicity would be a more appealing logo. So, I used three of the cubes and used different shades of a pretty blue color. I added a stroke to each panel of the cube, because I liked the mystery of the space added between. Then, I pieced the cubes together in a way to shape yes, three cubes placed together, but also if you looked at it a different way, it looked like a shiny shield. I loved the double meaning of the logo, so I went with it:
Finally, I went even further and added more to the logo. I knew I wanted to incorporate at least one more shape. I started by deleted the fill to the cube and just having a stroke, creating a sort of Y shape. I played around with it a lot, and at first it looked like these three Y's holding the cube in place. I decided I wanted these Y's to connect, so I connected them, creating the square behind the blue cube. Then, I took more and more of those Y's and connected them creating the hexagons. Then, I knew I needed something to encompass the art. I created the triangle and added a fill to it to add a pop to the logo. I added the word "Design" and BAM I had a logo.

My Font

Today we took a quiz to determine the font that we portray. My font was cooper plate, because my attributes were: emotional, assertive, progressive, and relaxed. The font has all round curves and no edges, because it has no limits, no rules. I really do think this font describes my personality. I kind of have the attitude of "going with the flow" and I think that this font portrays that characteristic as well.

What is Graphic Design?

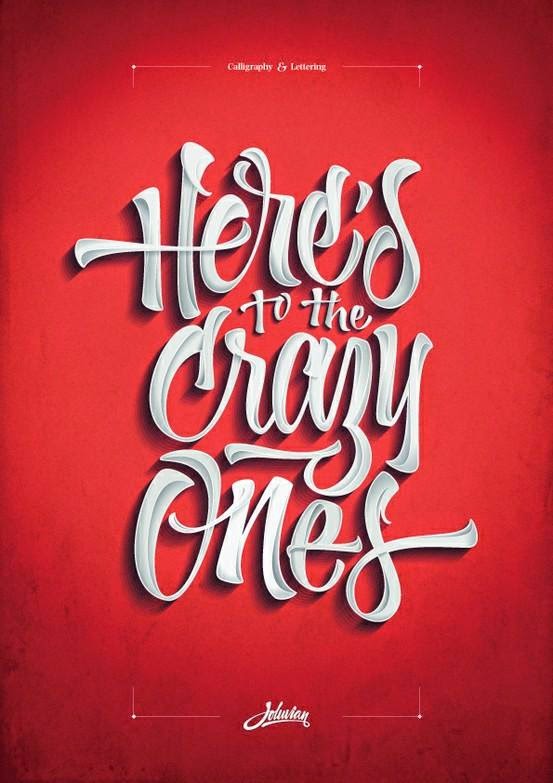
The official definition of graphic design is the art of skill of combining text and pictures in advertisements, magazine, or books. So, in other words, graphic design is the act of making information pretty. Usually graphic design can be found on posters, in commercials, or websites. It is all around us! It is used and seen every day. But to me, graphic design is a lot more. It's something that I'm really passionate about. When I first came into high school I knew I wanted to join eComm because I always thought I was going to study journalism of some sort. When I spent my first year trying out all the different "focuses" (video, web, graphic design, and animation), I fell in love with graphic design. Ever since I have wanted to major in graphic design in college and possibly work as a graphic designer when I'm older. I love designing with typography and creating logos. Here is an example of graphic design: